Why I Need A U Part Wig?
Hair loss can be uncomfortable and frustrating. However, human hair wigs can easily help you walk confidently. With wigs becoming more and more popular, there are more and more kinds of wigs. Lace wig has always been a popular product in the wig market, but with the development of the wig market, more and more natural and comfortable wig types have appeared. For example, U part wig. The U part wig can set off the perfect and natural you. And they are easy to adjust. You can wear these wigs effortlessly because they are designed to fit your head perfectly. If you are interested in U part wigs, read on.
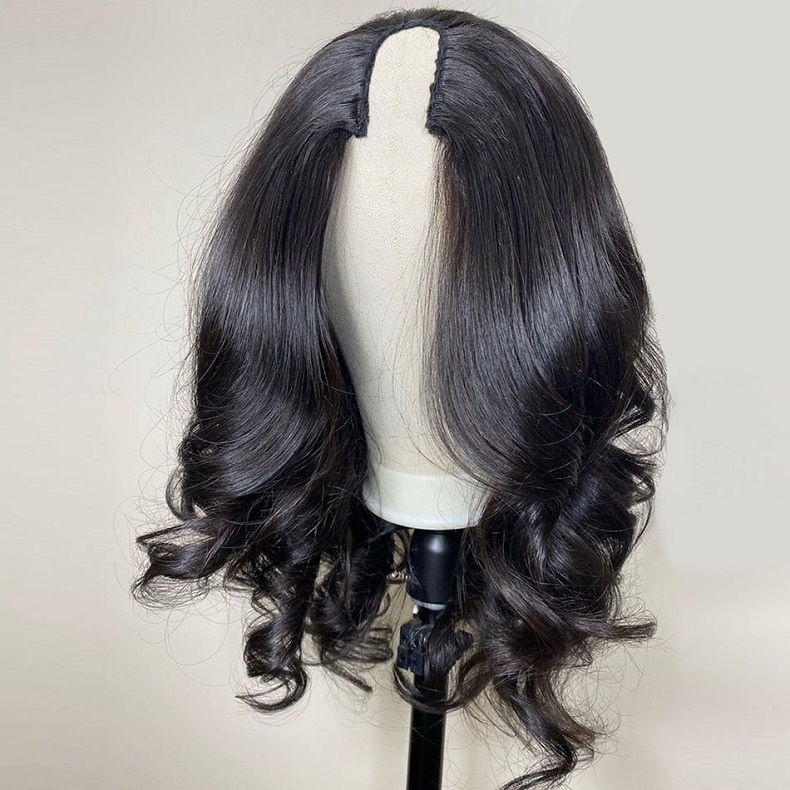
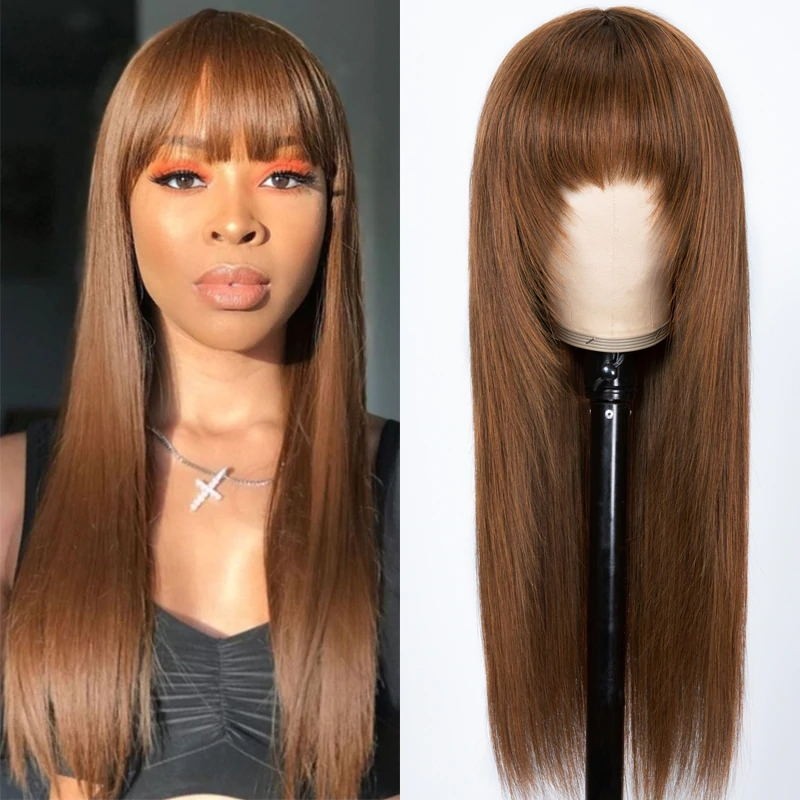
What Is A U Part Wig?
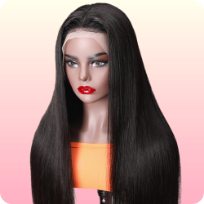
U-part wig is a hair extension sewn on a U part wig cap, which has fine transparent mesh and clips underneath. Usually, U part wigs come in a variety of sizes to meet your needs. You can choose the center, middle or side U part to achieve the style you want. Since the U part is constructed on the top of the wig, you can pass natural hair through the reserved area. Therefore, you will be able to seamlessly blend your natural hair and cover the extension to get a more natural hairline. Wearing a U part wig does not require you to spend too much time. And its wearing effect is also amazing. The working principle of the U part wig is the same as most protective styles. Since you can touch your hair, you can regularly wash the hair in the area above your head to make it look and feel the best.
However, if you do not take the correct installation, the U part wig will have the opposite effect on your hair. So let’s take a look at the correct installation.
How To Install A U Part Wig?
Step 1: Prepare Your Hair
The first step before wearing any wig is to take care of your own hair. Whether you wear a wig to change style or to cover baldness, you should wash your own hair first. After washing your hair, you can’t wear a wig until your own hair is completely dry.
Step 2: Measure Your Head
The U part wig can adjust the position of the U-shaped opening according to your head shape. Don’t rush to install the wig when you get it. You can compare it on your head first and decide whether to wear the U-shaped opening in the middle or on the side. Determine the size of the U-shaped opening according to the size of your head, and determine the area where you need to leave your hair.
Step 3: Part Your Hair
Leave a little of your own hair around the edge of the hairline on your forehead to make baby hair. Tie up the hair on the top of your head where you need to wear a U part wig. Then flatten the remaining hair as much as possible, so that it is natural to wear a wig. You can also braid the area where you wear a U part wig. If you want to wear a U part wig for a long time, you can braid it into thin braids, so that the wig can be firmly worn on your head. If you wear it for a short time, you can braid it thicker. It will be more comfortable.
Step 4: Put On U Part Wig
Hold both sides of the U part wig and put it on your head. Clip the clips on the wig to your hair to ensure a seamless fit. Generally, there are three or more than three clips on the U-shaped opening of the U part wig. Fix the back clip first, and then fix the wigs on the left and right sides in turn.
Step 5: Style Your Wig
When the U part wig is put on, what you need to do is to shape your exposed hair, so that it can better integrate with the wig and look more natural. You can use a comb to separate the hair on your head first, and then shape your hair according to the shape of your wig. For example, if your wig is curly, use a curling stick to curl your hair. If your wig is straight, make your hair look as straight as possible. This can make the wig look more natural. You can also get some baby hair near the hairline, which can also make your wig look more natural.