How To Make A V Part Wig
V part wigs have become very popular these days. Many women prefer them over other types of wigs because of how they provide them with flexible hairstyles. What’s more, they offer a more natural look than other types of wigs. But what exactly is a v part wig? How can you make it? Well, keep on reading this article as we discuss all these and so much more.
What Is A V Part Wig
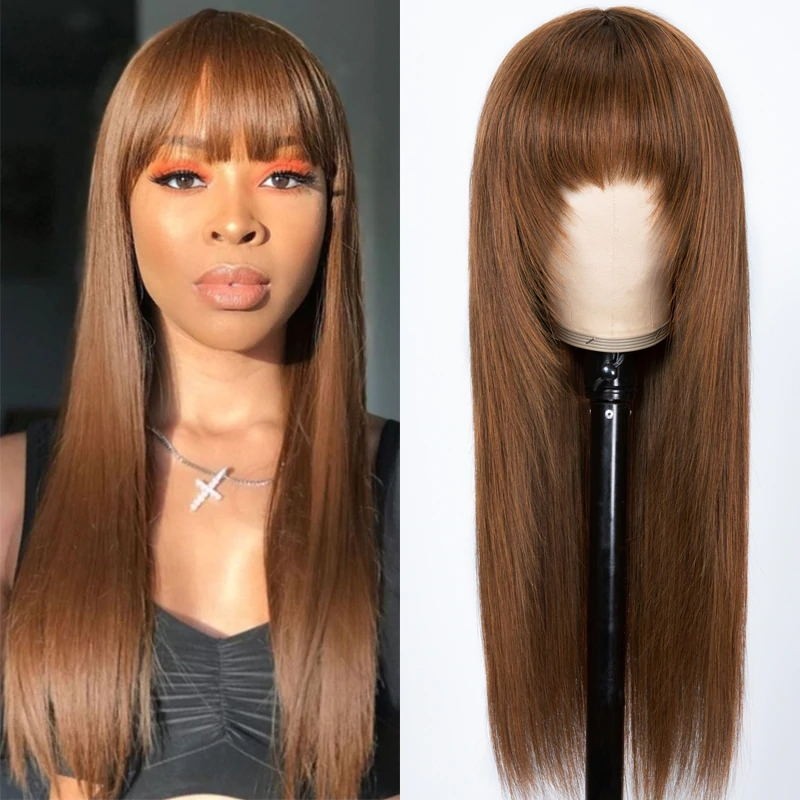
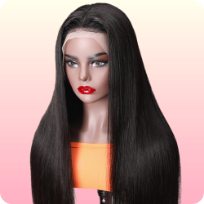
A V part wig is a type of wig with an opening at the top of the wig that is V-shaped. The opening allows the wearer to pass their natural hair through for a more natural look. A V part wig generally comes with no lace and doesn’t require glue to install. This is one of the reasons that make a V part wig an ideal choice for many ladies, especially those who are allergic to chemicals found in glue or adhesive.
Another ideal thing about V part wigs is that they tend to blend well with natural hairline, making it quite difficult for people to tell if it is actually a wig or your hair, especially if you choose a color that complements your skin tone.
Why You Should Invest In A V Part Wig
If you are still not convinced why you should purchase a V part wig, these reasons will prompt you to do so.
1. Flexible hairstyles
One of the incredible benefits of V part wigs is that they offer flexible hairstyles compared to other types of wigs. These wigs allow you to wear your own scalp. You can also make a middle part or side part, depending on your needs.
2. Easy to wear
V part wigs are perhaps the easiest to wear wigs. The wigs can be installed and removed easily, allowing you to change your hairstyle as often as you wish. This makes V part wigs an ideal option for ladies who are new to wigs.
3. They are affordable
If you are looking for affordable human hair wigs, V part wigs are a perfect choice. Compared to other types of wigs, such as lace front wigs, V part wigs are much more affordable. That’s because they are machine-made, meaning that they require less manpower and takes a shorter time to produce. What’s more, these cheap wigs will still offer you a higher value for your money.
4. They don’t require glue to install
Finally, another thing that makes V part wigs worth buying is that they don’t require glue to install. So your scalp and hairline will be safe from damage that can be potentially caused by glue or adhesives. So, if you are looking for a safe wig to install, you should choose a V part wig.
How To Make A V Part Wig
Things you will need
-Human hair bundles of your choice [2-3 bundles]
-A wig cap
-Scissors
-Foam head
-C-curved needle
-Pins
-Adjustable straps
-Thick black thread
-A white dressmakers’ chal
Here is a step-by-step guide to help you make a V part wig:
1. Pin the wig cap on the form head and draw the V-shaped part
Of course, one of the first things you need to do is to select a wig cap and use pins to tie the wig cap on the foam head, especially the four corners. Then you can draw the V-shaped part of the wig cap depending on your needs. You can also use colored eyeliner for this.
2. Sew in your hair bundles onto the wig cap
This is a very important step in making a V part wig. You will need to use the C-curved needle to sew in your hair bundles on the wig cap. Keep on sewing until you reach the other side. You need to anchor the weft to the wig cap with a double knot before you cut off the strings. This helps to ensure that the weft is very secure and sturdy.
3. Take the wig from the foam head and secure the V-shaped part
Now that you have finished sewing the hair bundles on the wig cap and you have a wig, it is time to take off the wig from the foam head. Use threads to sew in the wefts along the edges of the V-shaped part line to secure it.

4. Cut off the V-shaped part
It is now time to cut the C-shaped part. To do this, you will have to use a sharp pair of scissors. Cut the wig cap right along the lines of the V-shaped part that you had drawn earlier in the first step. You need to be very careful so that you don’t end up cutting right next to the left weft or hair strands on the front part.
5. Add the clips and adjustable straps to the inside of the wig
A wig must have adjustable straps and clips, as they help in adjusting the wig so that it fits perfectly on the head of the wearer. That’s why you must also add these two to the inside of your V part wig. Sew two combs to each side of the V-shaped part. Make sure that the teeth of the combs face away from the V-shaped part.
6. Wear your V part wig
Now that you have finished making your V part wig, it is time to try it on. But first, you must make sure that your hair is clean and free from tangles and knots. You can achieve that by washing and brushing your hair. Then dry it with a blow-dryer at a low temperature. You can then braid your hair into cornrows. Make sure that the hair is as flat as possible to eliminate bumps. This can help you achieve a more natural look. You can then put on the wig and adjust it with the clips and adjustable straps. This can secure the wig and prevent it from sliding down or falling off. You can then style the wig according to your taste and preference. However, it is worth mentioning that this method is only applicable when you are wearing your V part wig with no leave out.