How to Make Braided wigs? Introductory Version for Beginners
Wigs are an effortless and safe way to try out different styles without damaging your hair. However, store-bought wigs are sometimes rather one-dimensional in style. So, learning how to make a braided wigs will open up a lot of new possibilities for styling your hair. Check out how to make a homemade wigs called "braided wigs."
Ⅰ.What you need to make braided wigs
If you want to learn how to make braided wigs , you must first ensure that you have all of the required materials and tools. You'll need the following supplies to build your braided wigs:
braids or hair braids.
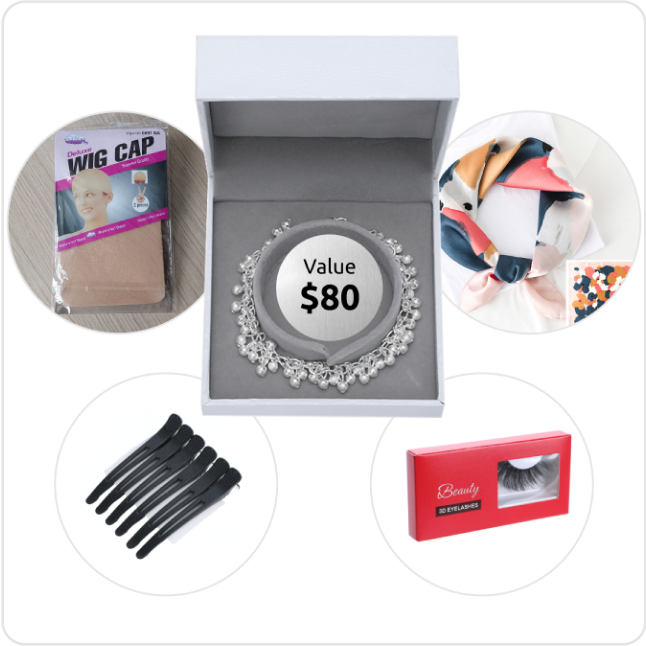
Wig cap crochet hook
T-pins
stockings
scissors
mannequin headwig stand
Ⅱ. How to make Braided Wigs
1.Making a wig cap
The wig cap is the basis for your braided wigs. You can make a wig cap in three easy steps using only two things: stockings and scissors. Follow these steps to construct your own perfect wig hat:
1.1. Pull the stocking over your head and tweak it as needed until it hits your hairline exactly.
2.2. Remove the remainder of the stocking and hold it 1-2 cm above your head. This is done to ensure that the wig cap fits snugly but comfortably. By running your hand up and down the stocking, you may get the perfect fit for the wig cap.
3.3. Make a loop in the precise location where your hand is held. To tighten the knot, pull the stocking ends together. With scissors, cut off the remaining portion of the stocking. Your wig cap is now complete!

2.Start making braided wigs
2.1. Put the cap on a wig head.

2.2. Using a crochet hook, pull a braid/twist through the cap starting at the back of the cap.
When sewing the hair to the foundation, it's crucial to use the right venting pins. The proper size is determined by how many strands you wish to tie in a single knot. Choose a larger needle if you want to make more strands. Smaller strands will result in fewer strands. Then make a loop with the hair and knot it on the lace. To tie single or double knotted lengths of hair formed from just a few strands into the numerous spaces in the lace foundation, you'll need to use a venting tool.
2.3. Make a knot at the top of the braid to keep it secure.
Always begin tying the wig to the lace at the bottom of the neckline. Before continuing to the sides, work your way up the back. Then, to protect the hair from showing on the inner edges, flip the wig over and sew the hair along the inside edges. This will assist in lifting the hair in a natural and pleasurable manner.

2.4. Continue braiding the cap one by one, from front to back and from bottom to top, leaving about 1cm between braids.
This technique is both simple and safe. It also prevents the lace from ripping, which is crucial. This is what I use for clients who don't want vented lace closures. Some folks who aren't familiar have inquired as to what the difference is because it appears to be the same from afar. I'm here, as always, to offer more economical options for growing good hair on a budget.You won't have to continuously re-threading because the thread passed through one needle can be used for over 5 braids depending on the length of the thread.

2.5.Hand-braid several extensions and connect them to the front of the wig for a more natural look.
Return to the top of the wig that you left out to close it after it's finished. Sew the braids very close together in a straight line to finish your section. Your wig should be finished after this. You can either define the portion with make-up or leave it alone.

Ⅲ. TIPS
3.1. When you first begin braided wig, make sure the extension covers any visible threads and clip away any annoyances lol.
3.2. This procedure might be used to manufacture the entire wig, not just the closure. It saves more time than the one I showed in my previous tutorial.
3.3. If you're using colored extensions, you might use that color of thread at the root of the braids if you're worried about the thread showing.
3.4. Choose a hue that is close to your skin tone when purchasing the lace for the closure, or get a wig cap with lace on the front. It performs admirably.